
A stainless steel tumbler may have excellent insulation, an attractive finish and premium packaging—but if the lid leaks, customers will judge the entire product as defective.
Most tumbler leakage does not come from the stainless steel body. It usually begins somewhere in the lid system, including the gasket, thread, drinking opening, straw valve, air vent or final assembly.
For B2B buyers, the most useful question is not simply:
“Is this tumbler leakproof?”
A better approach is to identify where the liquid escapes, what is causing it and how the manufacturer will correct it before mass production.
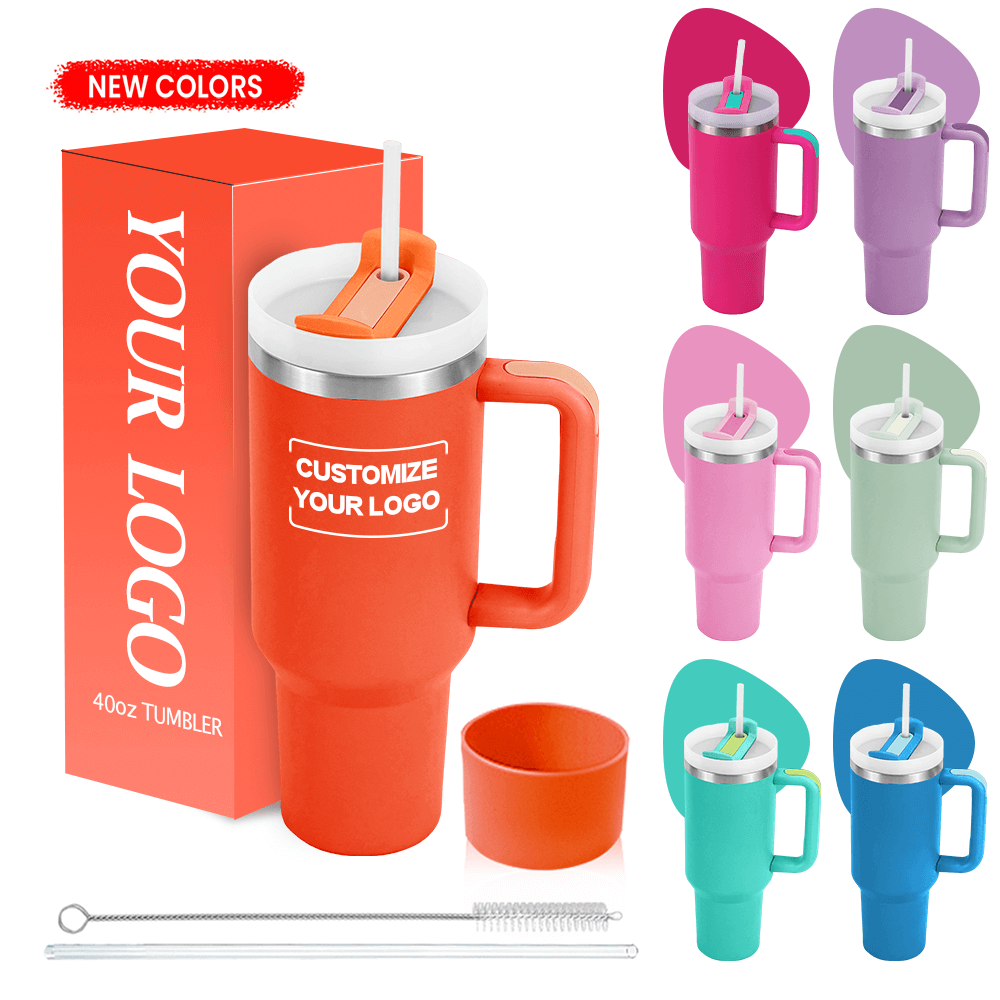
Quick Answer: What Are the Most Common Tumbler Leakage Points?
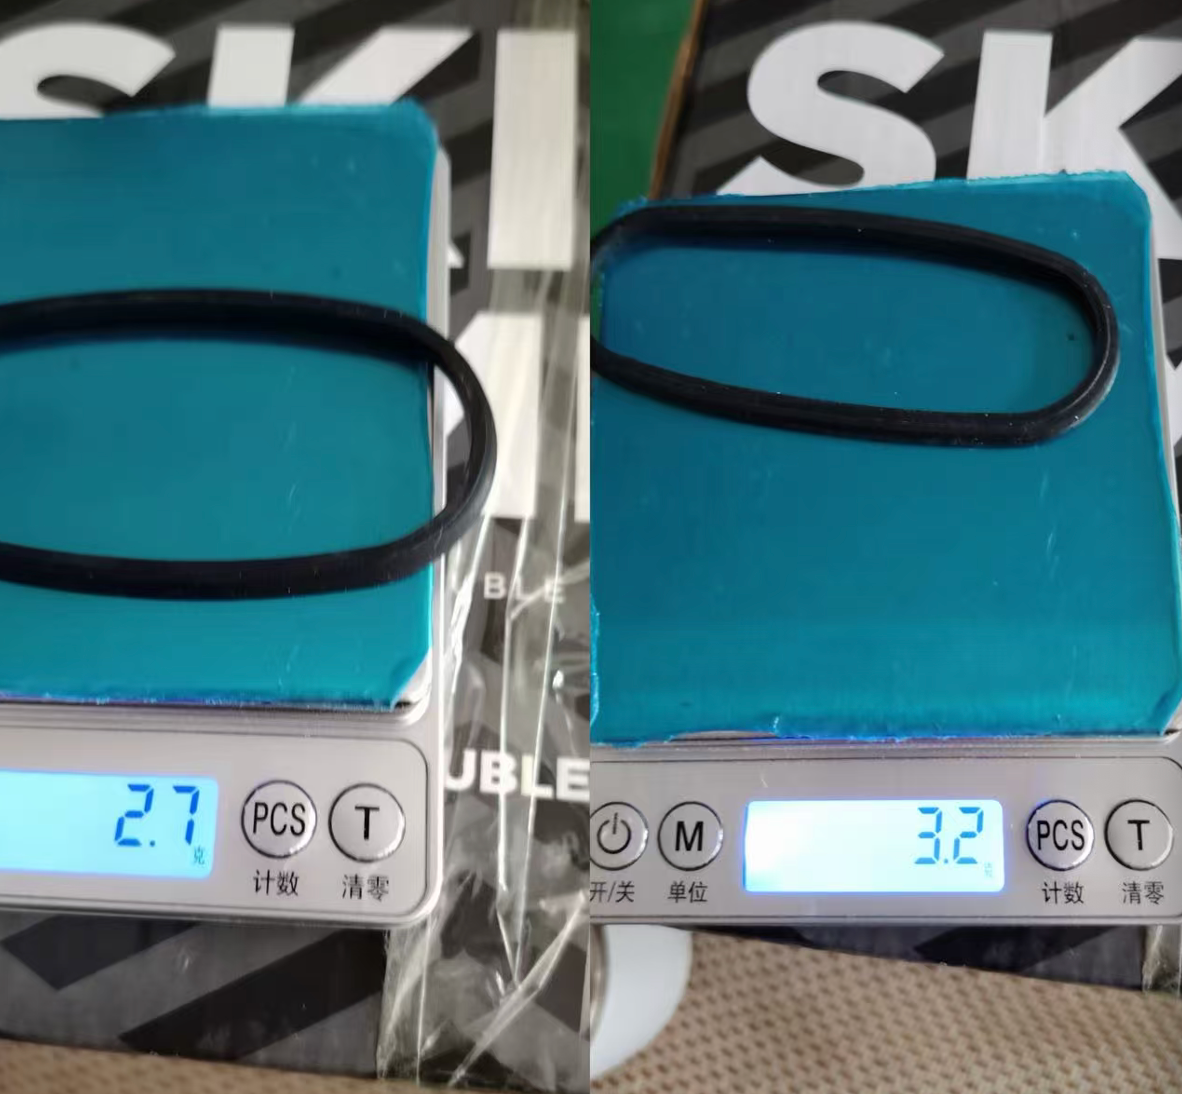
The seven most common tumbler leakage points are:
| Leak Location | Likely Cause | Buyer Diagnosis | Manufacturer Correction |
|---|---|---|---|
| Around the rim | Gasket displacement or insufficient compression | Inspect gasket fit and deformation | Adjust gasket dimensions, hardness or groove |
| Between lid and cup | Lid-to-body dimensional mismatch | Test the actual production lid with the cup body | Correct lid, cup-mouth or sealing-surface tolerance |
| Around the thread | Misalignment or incomplete engagement | Check closure position and tightening consistency | Modify thread geometry or closure control |
| Drinking opening | Slider, flip cover or stopper does not seal | Test in upright, tilted and horizontal positions | Improve the seal, lock or opening structure |
| Straw or valve | Valve, straw seal or air vent remains open | Test each opening under different positions | Modify valve, vent or silicone component |
| Random production units | Incorrect or inconsistent assembly | Compare failed units with the approved sample | Standardize assembly and add in-process checks |
| Only when placed in a bag | Lid is splash-resistant rather than leakproof | Confirm the intended carrying position | Select a locking or fully sealed lid |
Leakproof performance is a system result, not a single-component feature. The lid, gasket, cup mouth, thread, straw, valve and assembly process must work together.
1. Leakage Around the Rim: Silicone Gasket Problems
Likely cause
The silicone gasket creates the seal between the tumbler body and lid. Leakage around the rim often means the gasket is:
- Incorrectly sized
- Twisted or displaced
- Installed in the wrong direction
- Insufficiently compressed
- Deformed after use
- Incompatible with the gasket groove
- Too soft or too hard for the lid design
A gasket can appear correctly installed while still leaving a very small liquid path.
Buyer diagnosis
Fill and close the tumbler using the intended production lid. Inspect the gasket before and after testing.
Check whether:
- The gasket remains flat inside its groove
- Compression is even around the cup mouth
- The gasket moves when the lid is opened or closed
- Leakage always appears from the same area
- Reinstalling the gasket changes the result
Buyers should also confirm that the final gasket specification—not only a temporary sample component—will be used during testing.
Manufacturer correction
Depending on the cause, the manufacturer may:
- Change the gasket diameter or cross-section
- Adjust silicone hardness
- Improve the gasket groove
- Increase or reduce compression
- Correct the installation direction
- Add a gasket-position inspection during assembly
The goal is not maximum compression. Excessive compression can make the lid difficult to close and may deform the gasket over time.
2. Leakage Between the Lid and Tumbler Body: Poor Dimensional Fit
Likely cause
A lid and cup may look compatible without forming a reliable seal. Small variations in the cup mouth, sealing surface or lid diameter can prevent even gasket compression.
This risk increases when:
- The lid and cup body come from different platforms
- A standard lid is fitted to a newly developed tumbler
- Plastic injection parts vary between batches
- The cup mouth becomes distorted during forming
- Prototype and production components come from different molds
Buyer diagnosis
Test the actual lid, gasket and tumbler body as one complete assembly.
Check:
- Whether the lid closes to the same position every time
- Whether some lids feel tighter or looser than others
- Whether leakage occurs only with certain lid-and-body combinations
- Whether the sealing surface is level and undamaged
- Whether production samples match the approved sample
If you are still selecting the lid structure, see the Water Bottle Lid Types Guide for comparisons between screw, straw, flip, chug and coffee-sip lids.
Manufacturer correction
The manufacturer may need to adjust:
- Cup-mouth diameter
- Lid inner diameter
- Sealing-surface flatness
- Gasket compression
- Plastic-part tolerance
- Mold or forming parameters
A proven lid platform generally carries less development risk than combining components that have not previously been validated together.
3. Leakage Around the Thread: Misalignment or Incomplete Closure
Likely cause
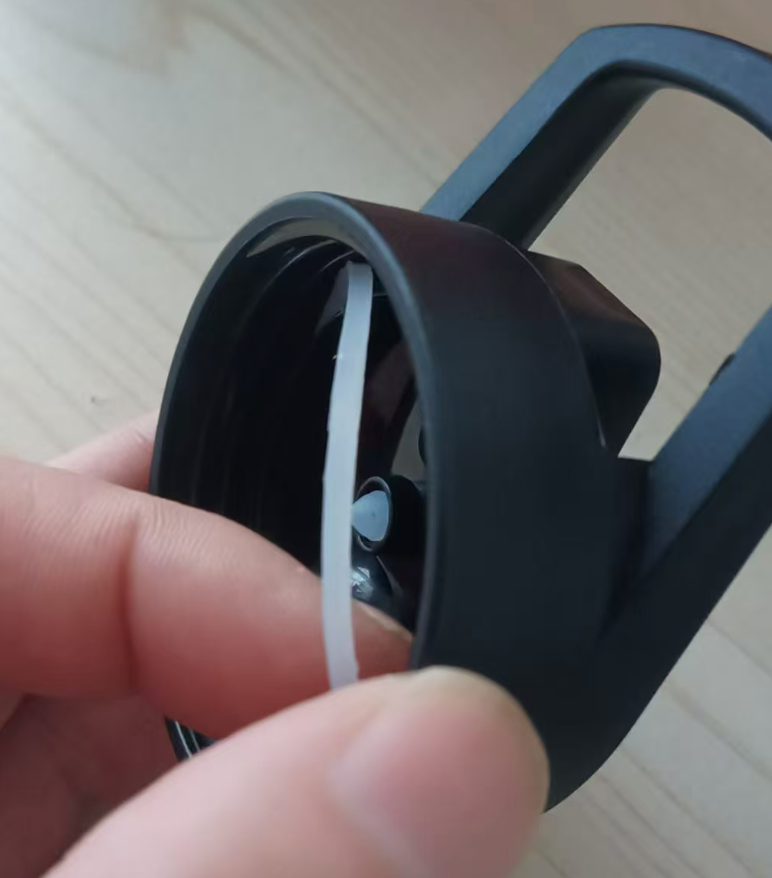
For screw lids, the thread determines how the lid reaches its final sealing position. A tumbler may leak if:
- The lid is cross-threaded
- The thread does not fully engage
- The closing position varies
- The lid requires excessive tightening
- The thread geometry does not create enough gasket compression
- Plastic or metal dimensions vary beyond the intended tolerance
Buyer diagnosis
Open and close several samples repeatedly.
Ask:
- Does the lid engage smoothly?
- Does it stop at a consistent position?
- Can a normal user close it correctly without excessive force?
- Does leakage occur when the lid is hand-tightened normally?
- Do different production lids perform consistently on different cup bodies?
Testing only one carefully tightened sample can hide a usability or tolerance problem.
Manufacturer correction
Possible corrections include:
- Modifying thread geometry
- Adjusting the final closure position
- Improving lid and cup-mouth tolerances
- Changing gasket compression
- Controlling molding shrinkage
- Adding closure-function checks during production
The lid should seal under realistic consumer use, not only when tightened by a technician.
4. Leakage From the Drinking Opening: Slider or Flip-Cover Failure
Likely cause
Coffee tumblers and handled tumblers often use a slider, flip cover or rotating opening. These designs are convenient, but not all are intended for horizontal or inverted carrying.
Leakage may result from:
- A slider without a complete silicone seal
- Insufficient locking force
- A deformed drinking-opening seal
- Liquid passing through an unsealed air channel
- A lid designed only to resist splashes
Buyer diagnosis
First define the required performance level:
- Splash-resistant: helps limit splashes during normal upright use
- Leak-resistant: reduces leakage under specified positions or movement
- Leakproof: designed to prevent leakage under clearly agreed test conditions
Then test the product in its intended use position. A desk tumbler that stays upright does not require the same lid structure as a tumbler carried inside a backpack.
Manufacturer correction
Depending on the requirement, the manufacturer may:
- Add or improve a silicone seal
- Increase slider or flip-cover closing force
- Introduce a locking mechanism
- Modify the drinking opening
- Select another existing lid platform
If bag-carrying is essential, buyers should state this before sampling. A splash-resistant coffee lid cannot automatically be upgraded to fully leakproof through final inspection alone.
5. Leakage From the Straw, Valve or Air Vent
Likely cause
Straw lids usually contain more possible leakage paths than simple screw lids. These may include:
- Straw opening
- Silicone valve
- Air vent
- Flip spout
- Hinge
- Lock
- Removable seal
If one component remains partially open, liquid may escape when the tumbler is tilted or moved.
Buyer diagnosis
Determine exactly where the first drop appears. Test the lid:
- Upright
- Tilted
- Horizontally
- Inverted, if required
- With the straw or spout open and closed
- After operating the mechanism several times
Also confirm whether the product is intended for hot drinks. Pressure changes and steam can affect some sealed straw or valve structures.
Manufacturer correction
The manufacturer may:
- Modify the valve dimensions
- Change silicone hardness
- Improve the air-vent structure
- Increase locking force
- Adjust the straw or spout seal
- Replace a complex lid with a more suitable proven design
More components provide more functionality, but they also create more interfaces that must be controlled.
6. Leakage in Random Production Units: Assembly Variation
Likely cause
If the approved sample passes but random production units leak, the design may not be the only problem. Common assembly failures include:
- Missing gasket
- Twisted gasket
- Gasket installed upside down
- Valve not fully seated
- Slider assembled incorrectly
- Mixed lid components
- Damaged silicone parts
Buyer diagnosis
Compare failed units with the approved sample and inspect the component sequence.
Ask the supplier:
- Is gasket installation visually checked?
- Is the first assembled unit approved?
- Are lids checked during production?
- Are leaking units recorded by failure type?
- Are replacement components controlled by batch?
A simple pass/fail result is less useful than knowing which component caused the failure.
Manufacturer correction
Manufacturers can reduce assembly-related leakage through:
- Standardized work instructions
- Component-orientation guides
- First-piece confirmation
- In-process lid-function checks
- Dedicated gasket inspection
- Segregation of failed parts
- Final inspection based on the agreed QC plan
For the broader inspection system, see TOPNOVO Custom Drinkware Quality Control & Testing.
7. Leakage Only During Horizontal Carrying: Design Limitation
Likely cause
Some tumblers are designed for cup holders, desks or upright use. Their lids may perform exactly as intended and still leak when placed horizontally inside a bag.
This is a product-positioning mismatch rather than necessarily a manufacturing defect.
Buyer diagnosis
Before approving the tumbler, define:
- Will it remain upright?
- Will consumers carry it in a bag?
- Will it hold hot or cold drinks?
- Does it require one-handed opening?
- Is a straw necessary?
- Does the lid need a lock?
- Which positions must it withstand without leaking?
These answers influence lid structure, tooling, cost and testing requirements.
Manufacturer correction
The practical solution may be to:
- Keep the current splash-resistant lid for upright use
- Use an existing locking lid
- Modify an existing lid platform
- Develop a new lid for a unique requirement
For a complete explanation of sealing design and verification stages, read the Custom Leakproof Stainless Steel Water Bottle Guide.
Tumbler Leakage Diagnosis Checklist for Buyers
Before approving a custom tumbler, confirm:
- Where does the first drop appear?
- In which product position does leakage occur?
- Is the lid splash-resistant, leak-resistant or leakproof?
- Was the final lid tested with the final tumbler body?
- Are the gasket, valve, straw and vent specifications confirmed?
- Does the lid close consistently under normal hand force?
- Has the final sample been approved for the intended use?
- Are gasket installation and lid fit checked during production?
- Is leakage included in the agreed final-inspection plan?
- Does the production batch match the approved sample?
FAQ
Why does my tumbler leak when it is on its side?
The lid may be designed only for upright use, or liquid may escape through the gasket, drinking opening, straw valve or air vent. Identify the first leakage location before deciding whether the cause is a defect or a design limitation.
Why does a tumbler leak even when the lid is tightly closed?
Tightening cannot correct every problem. The gasket may be displaced, the thread may stop in the wrong position or the lid and cup mouth may not have compatible dimensions.
Why did the approved sample pass while production units leaked?
Possible causes include molding variation, cup-mouth dimensional differences, inconsistent gaskets or incorrect assembly. The failed units should be compared with the approved sample to identify the changed component.
Can an existing tumbler lid be made more leakproof?
Sometimes. A manufacturer may adjust the gasket, valve, locking structure or lid fit. If the existing structure was intended only for splash resistance, selecting another lid may be more practical than modifying it.
From Leakage Diagnosis to Product Correction
Tumbler leakage should be investigated in a clear sequence:
Leak location → likely cause → buyer diagnosis → manufacturer correction → sample approval → production control
Finding the location first prevents buyers and manufacturers from making broad changes without identifying the real cause.
TOPNOVO supports brands, Amazon sellers, retailers and distributors with tumbler development, lid selection, sampling and production quality control. Explore our custom stainless steel tumbler manufacturing capabilities to compare existing, modified and fully custom development routes.
Developing a Leak-Resistant Custom Tumbler?
Send us your reference tumbler, lid type, capacity, intended use, target quantity and required leakage performance. We can evaluate whether an existing lid, modified lid or new lid development is the most practical route.
Request a Sample or Quote →